Refinishing furniture is delightful! It is such an adventure! You choose or find a piece of furniture, curious about its story, and you essentially breathe new life into it. Trash to treasure for some people! The more serendipitous the find of the furniture, the more I love the process!
Annie Sloan Chalk Paint has proven to be the bees knees for my refinishing. I’ve tried some other brands, and I just believe ASCP to be the best. However, I have had success making my own paint some, too!
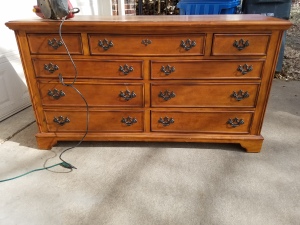 My husband actually found this dresser in our old neighborhood and called to see if I wanted it! Duh! Of course! We have been looking for something to use in our older son’s bedroom! This was in mostly great shape…barring a little re-stapling of the backing.
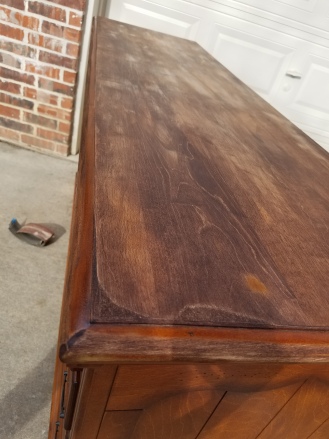
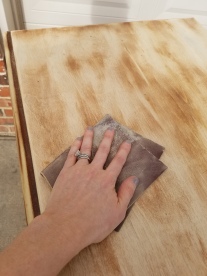 Most people are intimidated by sanding…even some of the best refinishers! It adds extra steps. It is messy. You really need to do it outside to avoid a huge mess! It takes some armwork! I happen to love a good beltsander, and mine is old, old, old….but it keeps ticking so I keep using it! Now, a lot of furniture seems to have a laminate finish on the top. I have a love/hate relationship with that and a sander. It gunks it up. Too much sanding takes you down to particle board. You have to get it just right, but it can reveal a really beautiful piece of wood with lines and grooves and movement! I love seeing the slice of a tree! It is beautiful what God made! I finished with a light staining with a Red Mahogany stain.
I started off a little lazy with the painting part of the project. I found some chalk paint at a big box hardware store, and I grabbed it because I didn’t have the right ASCP paint in my repertoire. After two coats of the off brand chalk paint, I hated it. Our home has warmer tones to it, and this was a blue white instead of a creamy, more vintage look.
Screech!! Off to my local ASCP supplier to grab some Old Ochre! It was good I went, too because they were having a sale on the wax. Score!! Back to painting and one final coat later. ASCP covers sooooo well! 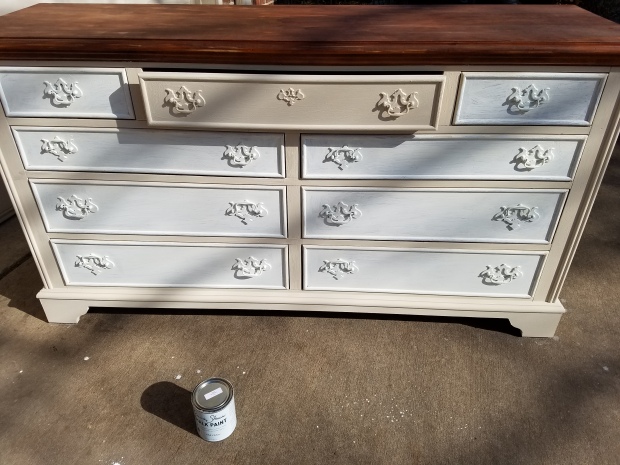
Next it was time to tape off the Union Jack. Super intimidating! It is so fun to freehand when painting, but some projects require some good strong lines that you can only get from taping. 🙂 That was probably the most involved part of my project!
Then it was on to the details of the flag! I studied abroad in London so all things British have long held a large spot in my heart.
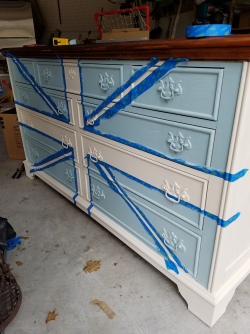 I wanted the flag to have a more vintage look and vibe so instead of the traditional crimson and navy blue, I opted for more muted versions of the original colors. For this part, I actually mixed some Duck Egg ASCP with a homemade chalk paint color to make a lighter green/gray/blue….my absolute favorite color combo!! For the stripes, I used a terracotta color of red and added in some of the Old Ochre ASCP. Beautiful!!! The muted tones really look amazing!
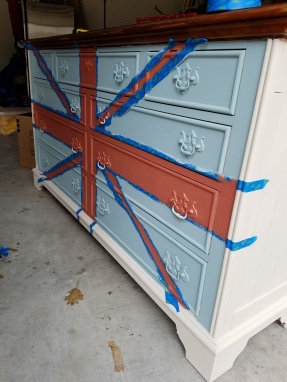
The most fun part of this project was removing the tape…Voila! It turned out so well. Truly one of my favorite pieces in our home!! After a coat of clear wax and a little buffing 24 hours later, it was ready to move to its new home!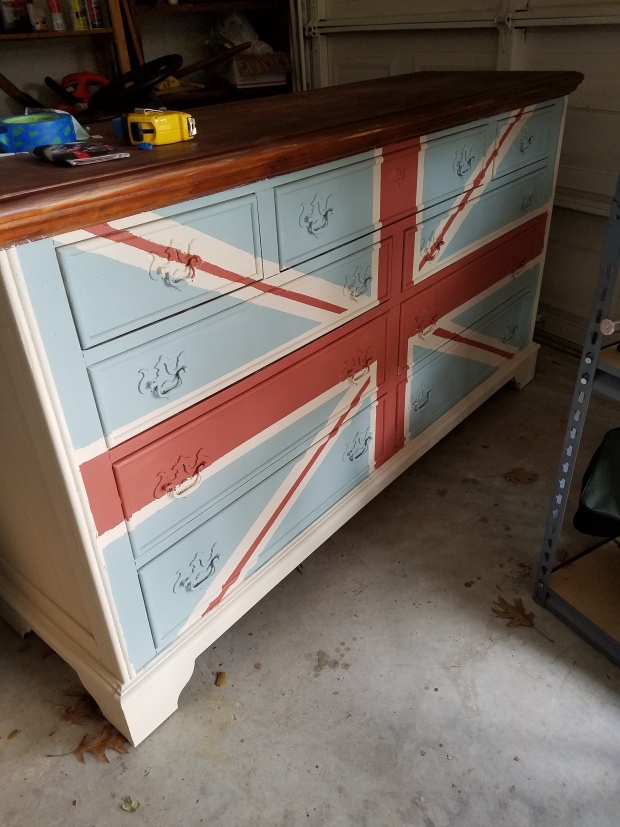
This weekend we are going to begin moving a few things around and doing a slight update in our son’s room. I’ll post the before and after in the next week or so!


